


The Barton Marine team is dedicated to providing sailors with a huge range of sailing hardware that stands the test of time, whilst being available at a competitive price point, leaving change for a dinner out or two during the season.
Whether looking to upgrade a complete hardware system, or replace individual worn out parts with like for like, the Barton range has been trusted to control the power by thousands around the world for decades.
Like you, we are well aware of the current pinch on budgets. We stand with you as the cost of everyday essentials skyrockets and so want to try and help keep you on the water with lower bills. Well maintained equipment will offer many years of service in the harsh marine environment, so it is not always necessary to replace parts.
It’s well worth spending time to carry out hardware checks and cleaning on a regular basis as this can save you money in the long run and prevent a failure during a voyage.
As such we have put together a handy guide on what to look for and how to prolong the service life of your fittings accompanied by useful servicing videos and the details of spare service parts we offer.
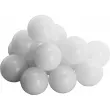
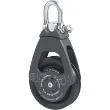
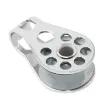
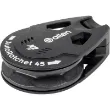
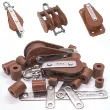
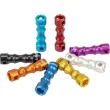
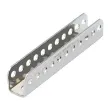
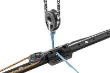
Blocks and sheaves
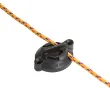
Blocks and mast sheaves use precise engineering and should be checked for potential wear and tear before you re-step the mast and throughout the season. Flush the blocks and mast sheaves through with fresh water if they have been exposed to the elements over the Winter. If you are using a mild detergent to remove mould and mildew make sure it is ecologically friendly. Don’t use oil or grease as this attracts dirt and salt, which is abrasive and will shorten service life.
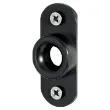
Check for excessive movement on the bearings of both blocks and sheaves especially at the mast head. A broken mast sheave invites the halyard to jam itself at the worst possible moment, with a trip up the mast the only alternative to remove a sail. Replacement sheaves are available from Barton in a range of sizes, or you can contact your mast manufacturer for replacements. If you can’t get the exact same diameter, that’s ok, as long as you make sure your replacement sheave is a tight fit widthways in the mast casing to prevent the halyard jumping off the sheave and jamming.
Shackle pins are a must aloft and we recommend that they should be wire seized and taped or even cable tied to prevent unlocking. Take time to have a look at the condition of all your split rings and if they are not tightly coiled then replace them with new ones. Cover both sides of the split ring with a single piece of electrical or spreader tape and stick it onto itself as this will help prevent the split pin snagging in ropes and halyards.
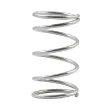
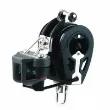
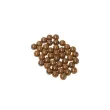
When you are checking ball bearing blocks, the sheaves should spin freely. It is worth flushing them through with fresh water. Any crunching or graunching noises or an uneven spin after flushing would suggest that the block has been overloaded. Ball bearing blocks are not suitable for high static loads, such as around the mast base so we’d recommend using a plain bearing block or a block with a higher rolling load rating for a longer lifespan.
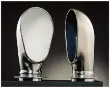
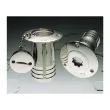
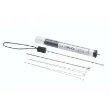
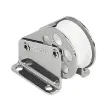
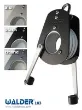
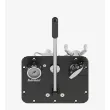
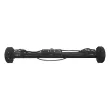
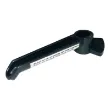
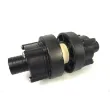
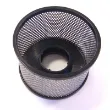
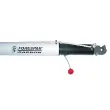
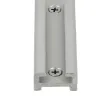
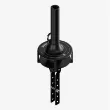
Barton Winches
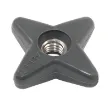
The Barton winch is really easy to maintain. Undo the drum spiral circlip (or locating screw on older models) and take off the drum before flushing through with warm fresh water. Gently agitate to remove any stubborn salt deposits, let it dry and give a light dab of silicone grease onto the gears.
You can remove all accessible pawls and springs and clean these, take a photo to remind yourself how they go back in. Surface rust staining on the pawls can be removed with a proprietary household abrasive cleaner such as CIF with a scotchbrite pad. Flush with fresh water and leave to dry. On reassembly, add a dab of silicone grease to the springs and refit.
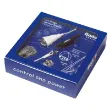
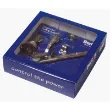
We supply Winch service kits to include replacement pawls, springs & roller bearings, spiral clips and nylon washers for all three winch models:
#21210 spares kit - for the single speed 21200 winch
#21211 spares kit – for the twin speed 21201 winch
#21212 spares kit – for the twin speed 21202 winch
Take a look at our winch maintenance video
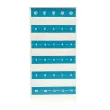
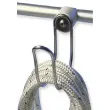
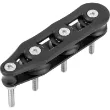
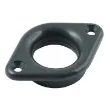
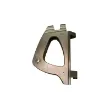
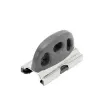
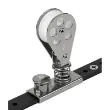
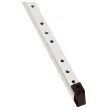
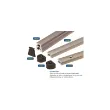
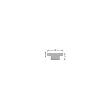
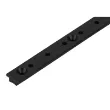
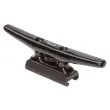
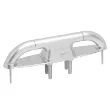
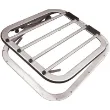
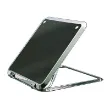
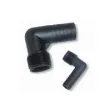
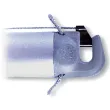
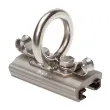
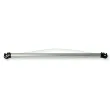
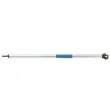
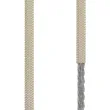
Mainsheet Traveller and Genoa cars:
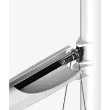
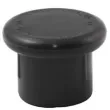
Rinse the traveller body and fittings thoroughly with fresh water. It is important to really rinse the underbody where the ball bearings run in the car and along the track. You can use a mild detergent solution for stubborn salt deposits as it will not harm the layer of anodising. Take time to look at the state of the black nylon end cap mouldings on the traveller car and end fittings, now is a good time to replace them.
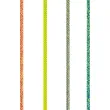
Flush through the control line cam cleats with water under pressure, the cams should open and return freely, if not unscrew them and disassemble to check for broken return springs. Worn cam jaws reduce the efficiency of the cleat and will require replacing. Go for the highest specification cleat you can afford for a longer life, the Barton K Cam series are made from Dupont Kevlar, well known for its strength and light weight. Whilst you are checking the cam cleats then have a look at the condition of the control line sheaves as they are easy to remove, inspect and replace.
Traveller system – check end caps, check cam action, flush car underside with water
Take a look at our traveller maintenance video
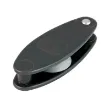
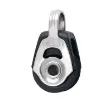
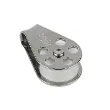
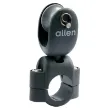
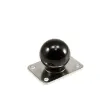
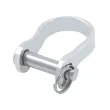
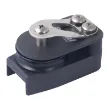
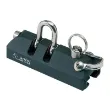
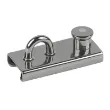
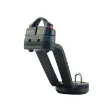
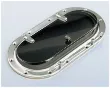
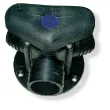
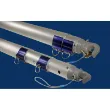
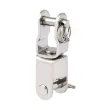
Genoa Cars
When inspecting the Genoa Cars check for signs of excessive movement about the sheave bearing. A small amount of play is probably acceptable but any more than this may cause the sheave to lock up under load. Keep an eye on warning signs including excessive wear to one side of the sheave where it is not rotating.
Flush sheave, pivot and pin with fresh water
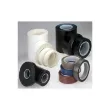
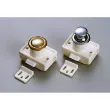
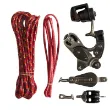
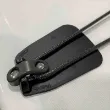
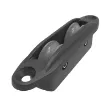
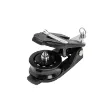
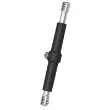
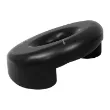
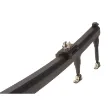
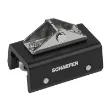
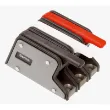
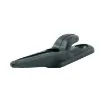
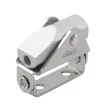
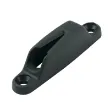
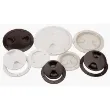
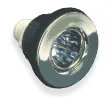
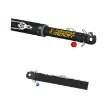
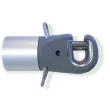
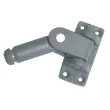
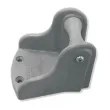
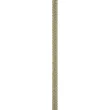
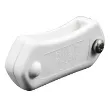
Rope Clutches
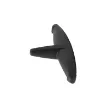
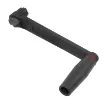
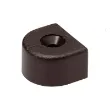
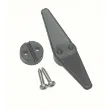
Flush through with fresh water and let dry. We then recommend a dab of silicone grease for the handle and cam pivot points only. If the halyard or control line is slipping, try and look at the cam face inside for wear. The handles can also fail on older rope clutches with tell tale signs being fractures around the pivot point. Repair or replace as necessary.
Rope Clutches - Grease handle and pivot with silicone grease
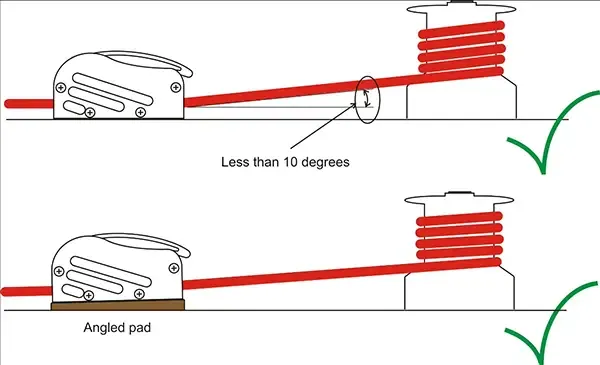
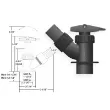
Make sure your lead deflection into the rope clutch is within 10 degrees, any more is putting an excessive side load on the unit.
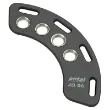
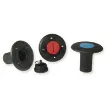
We supply Rope clutch service parts to include:
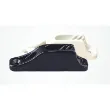
#81545 clutch handle
#81546 clutch cam
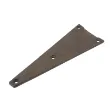
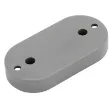
#81547 clutch base plate
#81548 four replacement nuts & bolts